Make fruits so much fun to eat with easy, delicious, and healthy Fruit Popsicles!
You can make a freezer-friendly dessert or snack from fresh fruits that’s perfect for kids and adults. It’s always worth making these treats, especially in the summer or during celebrations and weekends.
Not only will they satisfy your sweet cravings, but these treats will also give you the health benefits you need. After trying these, you will surely add Fruit Popsicles to your favorite healthy recipes!

Pin this recipe on Pinterest to save for later
Here, you will learn how to make the best fruit popsicles from scratch, including everything you need and do for the best results. You will surely love everything about these Fruit Popsicles!
How to Make Fruit Popsicles
If you have fresh fruits, you can make Fruit Popsicles with incredible flavor, color, and quality. You will also need a blender or food processor to get the right texture in minutes.
Make space in your freezer because you might make more of these Fruit Popsicles!
Ingredients
You will need this fantastic trio for the best mix of flavors in these Fruit Popsicles.
Mangoes
When it comes to making popsicles, you can always go for mangoes!
Mangoes are some of the best options to give the popsicles a touch of tropical vibes. I suggest using ripe yellow mangoes to get a subtle, sweet flavor. Since they’re soft and juicy, you can easily turn them into popsicles.
With the vibrant yellow color of mangoes, you can ensure they make you want to eat more. Most importantly, mangoes have many health benefits that can change your life.
You can eat raw, ripe, or unripe mangoes for healthy snacks. Aside from using them for this recipe, you can also convert them into smoothies, juices, and more. You will definitely love how mangoes taste in the Fruit Popsicles!
Strawberries
The Fruit Popsicles won’t be complete without strawberries.
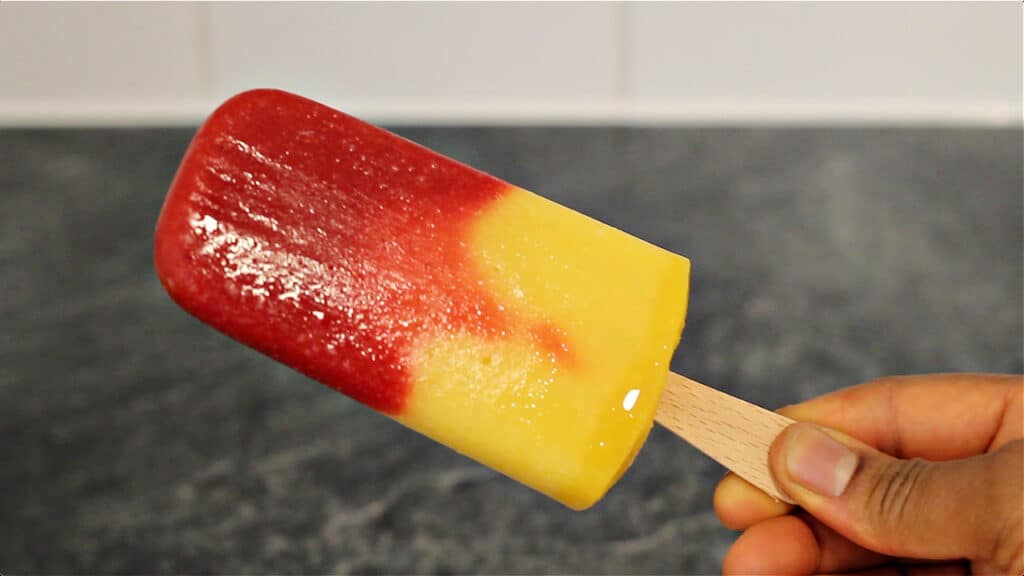
I love using strawberries for popsicles because of their sweet, sour, and tangy flavors. Strawberries will also add a vibrant red color that will complement the yellow shades of the mangoes and pineapples.
Strawberries are also juicy and pulpy, giving the fruit popsicles a good texture. Moreover, their fragrant aroma and bright color leave everyone craving more.
Strawberries are a tasty ingredient for popsicles. I always buy strawberries because my kids love strawberry-flavored foods like Strawberry Ice Cream Bars, Strawberry Banana Milkshakes, and Strawberry Jam!
Pineapples
There’s no need to pine because this recipe will have fresh pineapples, too.
Mixing pineapples with mangoes and strawberries will make a huge difference in the recipe. Like mangoes and berries, pineapples have citrus flavors that make you feel like you’re on vacation.
The yellow color of the pineapples can also add an appealing effect to the popsicles. Moreover, these are easy to blend or puree for easy freezing. Above all, you can expect lots of health benefits from pineapples.
You may have already used pineapples for juicing, but wait until you use them for popsicles. Now, you can use pineapples for another recipe instead of Pineapple Juice!
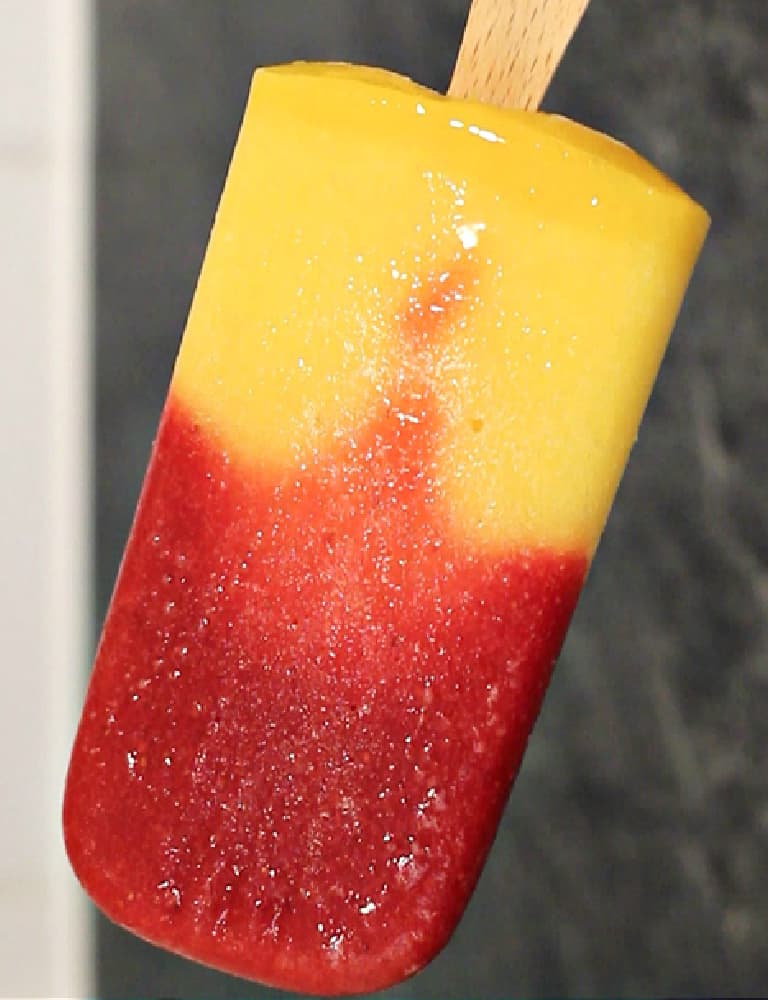
Can you already taste how delicious the combination will be? Believe me; mangoes, strawberries, and pineapples will make the best Fruit Popsicles!
Directions
Let’s go to the fun part – making the Fruit Popsicles.
- Peel and slice the ingredients with a knife.
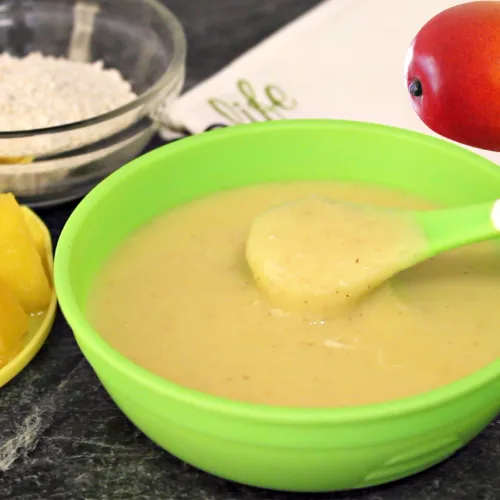
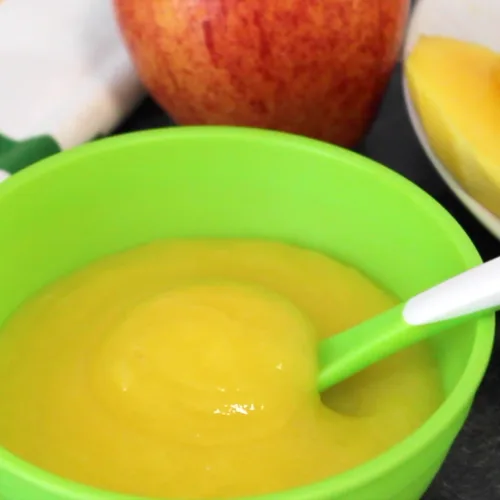
- Use a blender or food processor to puree the fruits individually.
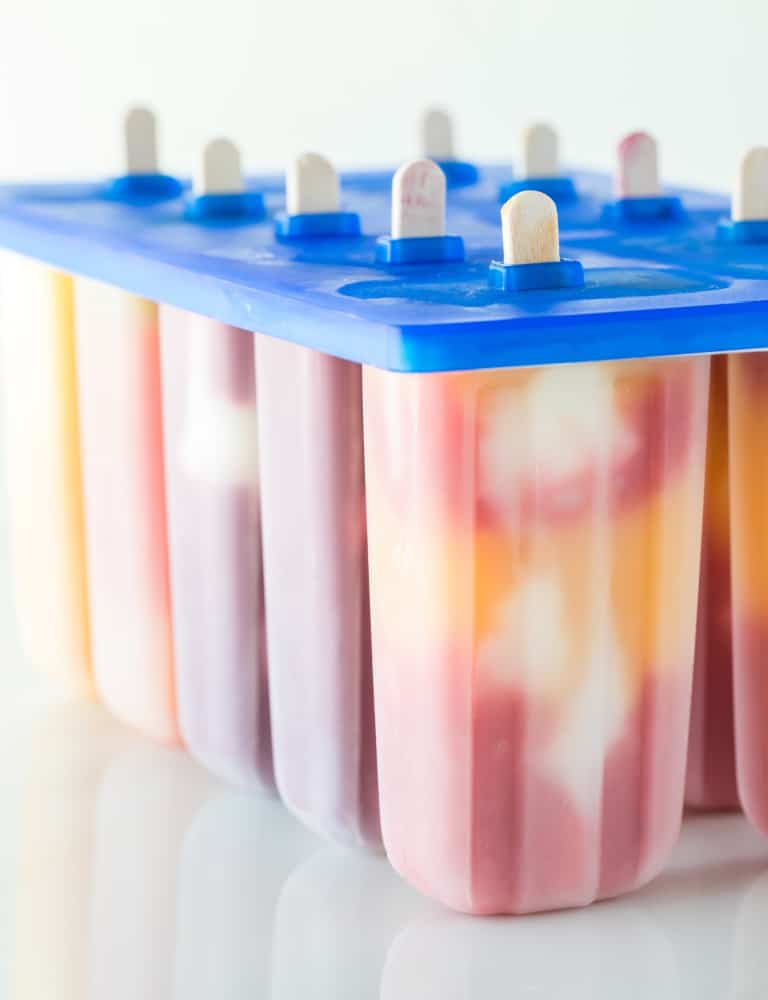
- Then, pour the purees into the popsicle molds.
- Allow the popsicles to freeze for about four to eight hours or overnight.
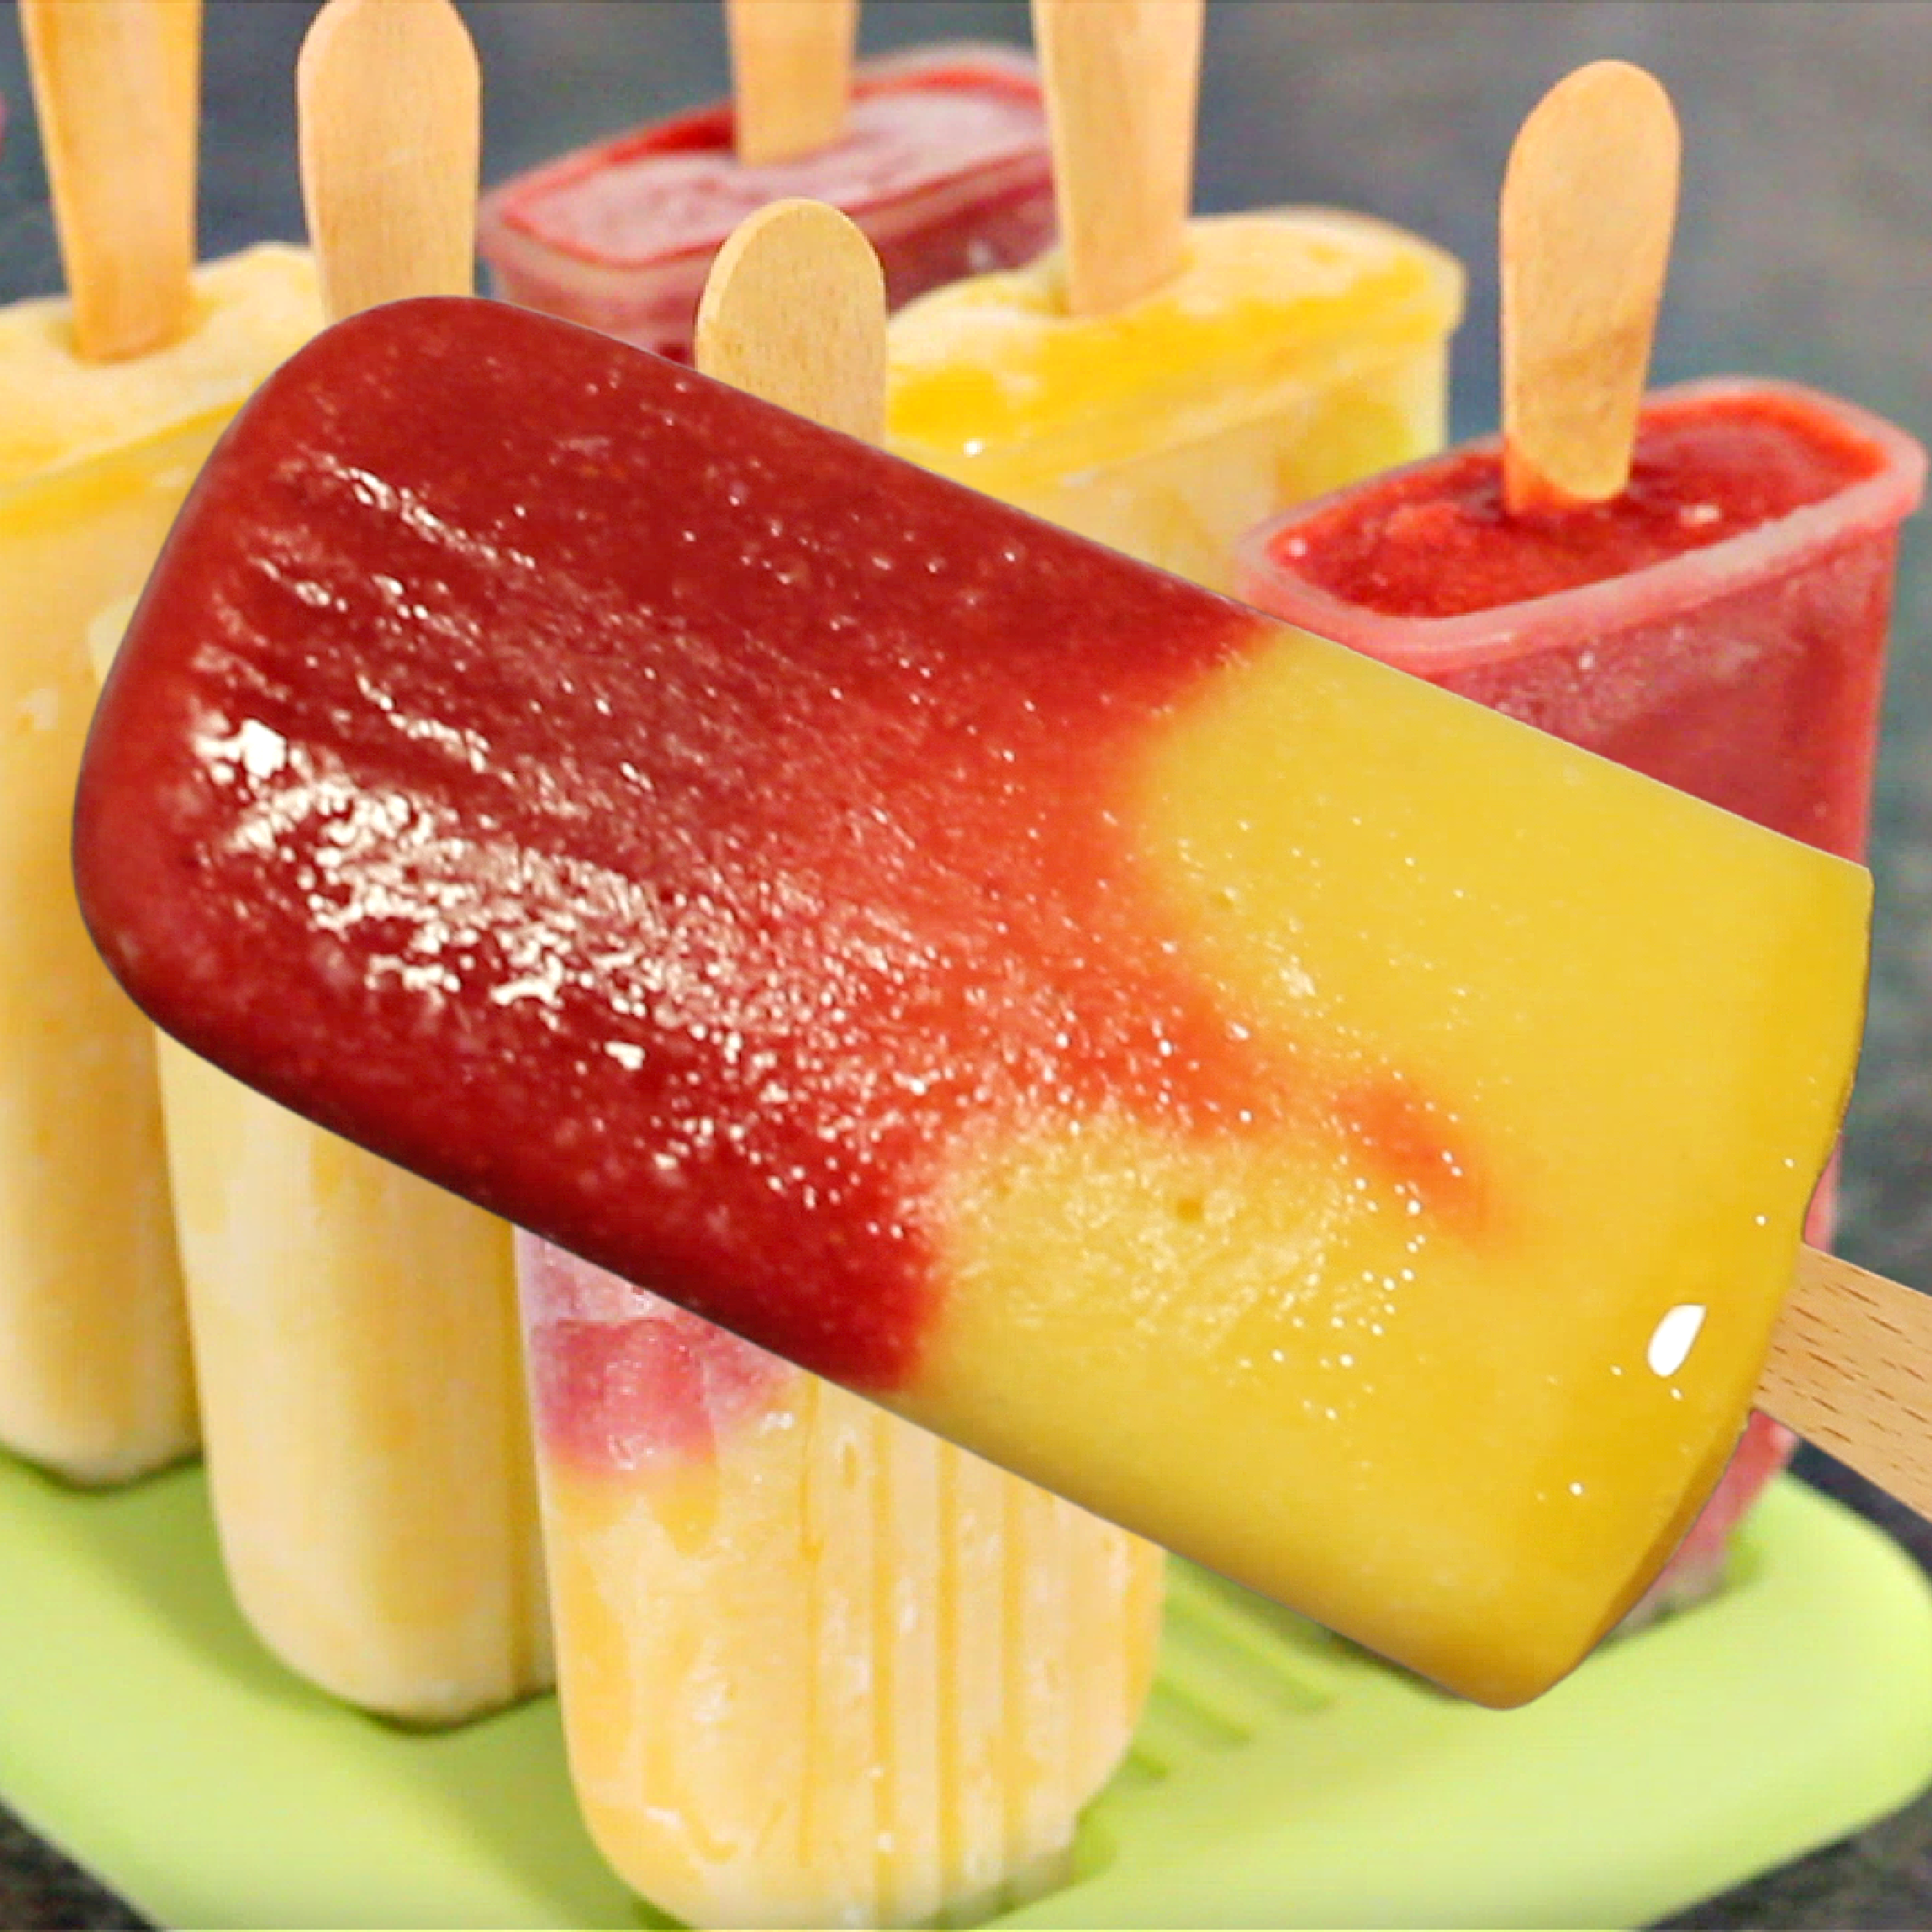
- Whenever you’re craving something cold and sweet, take them out of the popsicle molds and enjoy!
Yes, it only takes simple steps to make these delicious treats. You can eat them on a hot day, after dinner, or even after a workout. It’s good for kids, adults, and even pets!
Tips
Mangoes
Buying mangoes
- The Food Tribune suggests buying mangoes that are plump and a bit soft.
- Ripe mangoes should be yellow, and if you see touches of brown or speckles, it is normal.
- Avoid thin and wrinkled mangoes because these may have a different taste already.
- You should also smell a sweet fragrance near the stem.
Storing mangoes
- If you bought unripe mangoes, then let them ripen at room temperature.
- You can also place them in a paper bag to fasten ripening.
- For ripe mangoes, store them in the fridge to slow the ripening.
- You can store them for up to five days in the fridge.
- Alternatively, put peeled and chopped mangoes in a container in the fridge for six months.
Strawberries
Buying strawberries
- Buy strawberries that have bright red skin and green caps.
- The strawberries don’t need to be big, but they should be plump to the touch.
Storing strawberries
- The Food Network suggests storing the strawberries without washing them.
- Don’t remove the stems of the strawberries.
- Arrange them in a container in a single layer only.
- Meanwhile, The Kitchn suggests soaking the strawberries in a water and vinegar mixture before drying and storing them.
Pineapples
Buying pineapples
- According to Healthy Family Projects, you should buy pineapples with green leaves.
- Check if the shells feel firm.
- Smell the bottom of the pineapples for a sweet fragrance.
Storing pineapples
- You can store pineapples at room temperature for three days.
- Once peeled and chopped, place them in a container in the fridge for at least a week.

How to Cut a Pineapple
While it is fairly easy to slice mangoes and strawberries, it’s not always the case for pineapples, especially if you have the fruit itself.
- Cut off the top and bottom of the pineapple on a cutting board.
- Then, use a knife to peel it.
- Slice as close to the eyes of the pineapple as possible.
- Continue cutting it into halves until you have pineapple chunks.
How to Make Popsicles Without Popsicle Molds
In addition to using popsicle molds, you can freeze the fruit purees in plastic cups, small baking tins, ice cube trays, and even unused yogurt containers.
How to Puree Fruits Without a Blender
While a blender or food processor is best for making the fruit puree, you can also use a masher.
You can also put the chopped fruits in a resealable bag and gently pound them with a rolling pin to release the juices and puree the flesh. You can also do it using a mortar and pestle, but do so in smaller batches.
Fruit Popsicles Variations
Put the “pop” in popsicles by making your own recipe!
The great thing about homemade popsicles is that you can make them with any fruit. For instance, you can make Zobo Popsicles with an extract from pineapples, oranges, ginger, and hibiscus flowers.
Alternatively, you can puree bananas, peaches, berries, cantaloupe, plums, and more! To make it creamy, you can add condensed milk or yogurt. It can even be seasoned with honey or any other syrup.
In addition to mangoes, strawberries, and pineapples, you can also use watermelons, apples, berries, cantaloupes, grapes, bananas, oranges, melons, kiwis, and more!
Instead of strawberries, you can use strawberry jam for more flavor and color in your popsicles. Don’t forget to be creative with these treats! Check out these fruit juice combinations that will also make good popsicle flavors:
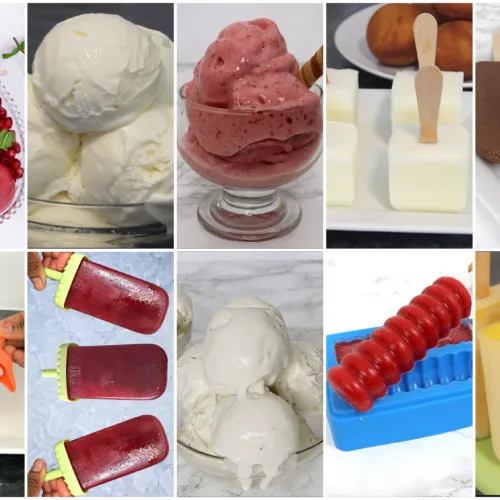
more frozen desserts


Recommended Tools
- Blender: Puree each of the ingredients in a blender.
- Food processor: Use this as an alternative to a blender.
- Popsicle molds: Let the puree freeze in popsicle molds.
- Knife: Peel and chop the ingredients using a knife.
This post contains affiliate links, which means I earn commission income from qualifying purchases at no extra cost to you. Please read the full disclosure for more information.
Visit my shop for more products.
How to Serve Fruit Popsicles
Once you taste these Fruit Popsicles, they will become part of your regular diet!
You can serve these popsicles anytime. I especially suggest enjoying them as desserts or snacks on weekends, during celebrations, or any day. Fruit Popsicles will truly satisfy your sweet and fruity cravings.
Just dip the popsicle molds in lukewarm water to easily slide out the popsicles. It’s an easy way to remove the popsicles while keeping them in shape. The kids will surely enjoy every bit of these treats.
If you’re serving popsicles at a party, please serve them with a bowl of melted chocolate for a dip. You can also place the popsicle down on a bowl or glass.
Put them in an ice-filled bowl to keep them cold and fresh. Wrap each popsicle in foil for more insulation. No matter how you serve them, Fruit Popsicles will certainly make you happy!
Storage Tips
- At room temperature: Keep the Fruit Popsicles at room temperature only upon serving them.
Frequently Asked Questions
Is fruit popsicle healthy?
Yes, the fruit popsicle is healthy because it is made of 100% fruit. You just need to blend or puree them to freeze easily. These popsicles are also homemade to make the recipe organic and healthy.
What are fruit popsicles made of?
Fruit popsicles can be made of any fruit that you want. My go-to fruits are mangoes, strawberries, and pineapples. You can also use other juicy and soft fruits like bananas, melons, and other berries.
Why are popsicles so good?
What makes popsicles so good is that you can make them at home with fresh fruits. Not only are they sweet and colorful, but they’re especially good for your health. These can improve your heart, brain function, and lifestyle!
Is popsicle a ice cream?
No, the popsicle is not an ice cream because it doesn’t need a creamer or thickener. It can be as simple as using blended or pureed fruits or vegetables. On the other hand, ice cream is cream-based and whipped until thick.

This post may contain general information and does not constitute professional medical advice. Always seek information or advice from a qualified medical professional. Please read the full disclaimer for details.
Fruit Popsicle
Ingredients
- 1 mango (peeled and sliced)
- ½ pineapple (peeled and sliced)
- 6 strawberries (large-sized)
Instructions
- Peel and slice the ingredients with a knife.
- Use a blender or food processor to puree the fruits individually.
- Pour the purees into the popsicle molds.
- Allow the popsicles to freeze for about four to eight hours or overnight.
- Whenever you're craving something cold and sweet, take them out of the popsicle molds and enjoy!
Video
Notes
- In place of a blender or food processor, use a grinder or masher to puree the fruits.
- There are plenty of other fruits that you can utilize to make popsicles.
- Babies can have fruit popsicles as early as 6 months old with adult supervision.
- Don’t combine the pureed fruits in one bowl or container immediately because you will be assembling them for the popsicles later.
- You may sweeten the purees with maple syrup or any sweetener of your choice.
- Pour one fruit puree after another for a gradient appearance. You may also incorporate small fruit chunks for more texture and flavor.
- Popsicle molds usually come with lids and plastic lolly sticks but you can also use wooden lolly sticks as an alternative.
- Note that you must insert the lolly sticks only halfway through the mold.
- When you want to take them out to serve, dip the popsicle mold in lukewarm water so that the popsicles can easily slip out.